No edit summary Tag: Visual edit |
m (→Levels: list of levels - dark theme support (missing part)) |
||
| (91 intermediate revisions by 30 users not shown) | |||
| Line 7: | Line 7: | ||
| characters = [[Pete]], [[Bubblegum Troll (character)|Bubblegum Troll]], and [[Misty]] |
| characters = [[Pete]], [[Bubblegum Troll (character)|Bubblegum Troll]], and [[Misty]] |
||
| champion = Bubblegum Buster |
| champion = Bubblegum Buster |
||
| + | | new = [[File:Dragon.png|25px|link=Gummi Dragon]] in {{Blocker|Two-layered Chest}} <br/> [[File:Dragon.png|25px|link=Gummi Dragon]] in {{Blocker|Two-layered Chest}} <br/> [[File:Dragon.png|25px|link=Gummi Dragon]] in {{Blocker|Three-layered Chest}} <br/> {{Blocker|One-layered Frosting}} in {{Blocker|Five-layered Chest}} |
||
| − | | new = {{Other|Conveyor Belt}} that can turn in corners |
||
| released = {{Web|14 April 2014}}<br />{{Mobile|7 May 2014}} |
| released = {{Web|14 April 2014}}<br />{{Mobile|7 May 2014}} |
||
| − | | difficulty = |
+ | | difficulty = Easy |
}} |
}} |
||
| − | {{Episode Passage|39th| |
+ | {{Episode Passage|39th|fourth|8 (HTML5)|14 April 2014|Bubblegum Buster}} |
==Story== |
==Story== |
||
<poem> |
<poem> |
||
'''Before episode:''' |
'''Before episode:''' |
||
| − | + | The [[Bubblegum Troll (character)|Bubblegum Troll]] blows up his giant bubblegum that blocks [[Pete]]'s way back to his bungalow. |
|
'''After episode:''' |
'''After episode:''' |
||
[[Tiffi]] gets out of the screen then rides onto [[Misty]] of [[Minty Meadow (Episode 5)|Minty Meadow]]. The unicorn jumps and pops the bubble with her horn. |
[[Tiffi]] gets out of the screen then rides onto [[Misty]] of [[Minty Meadow (Episode 5)|Minty Meadow]]. The unicorn jumps and pops the bubble with her horn. |
||
| Line 22: | Line 22: | ||
==New things== |
==New things== |
||
| − | * |
+ | *[[Gummi Dragon|Gummi dragons]] are enclosed in two-layered sugar chests for the first time in [[level 561]]. |
| + | *One-layered frosting is locked by a five-layered sugar chest for the first time in [[level 569]]. |
||
| − | **Also, it is the first level where conveyor belts don't have portals, since the conveyor belt goes around in a continuous loop. |
||
==Levels== |
==Levels== |
||
{{Contain Levels|Reality 39|561|575}} |
{{Contain Levels|Reality 39|561|575}} |
||
| + | Biscuit Bungalow is an anomalously easy episode, with an exceptionally low mean of '''2.33''', a rare feat at this point in the game! Most levels in this episode are easy, and the two hardest levels: {{P|561}} and {{P|570}}, are rated somewhat hard. With that, it is a lot easier than the previous episode, [[Jelly Wagon]], the easiest since [[Chocolate Mountains]], and the first episode to not contain a level rated "hard" or higher since [[Lemonade Lake (Episode 3)]], over 550 levels ago! |
||
| − | Biscuit Bungalow continues the trend of having conveyor belts in all 15 levels, having a normal amount of jelly and ingredients levels, having a low number of candy order levels, having no new elements, not even [[Liquorice Lock|liquorice locks]], nor [[Cake Bomb|cake bombs]] and [[Chameleon Candy|chameleon candies]] make an appearance either. They can only be found inside some of the [[Mystery Candy|mystery candies]]. |
||
| − | |||
| − | It has five somewhat hard - hard levels: {{P|565}}, {{P|566}}, {{P|567}}, {{P|571}} and {{P|575}}, and two very hard levels: {{P|570}} and {{P|573}}. Yet, there are five somewhat easy levels: {{P|561}}, {{P|563}}, {{P|564}}, {{P|569}}, {{P|572}}, and {{P|574}}. Regardless, this is a hard episode and it is harder than the previous episode, [[Jelly Wagon]]. It is the hardest episode in World Seven. |
||
{{Episodelevels |
{{Episodelevels |
||
| − | | |
+ | | Jelly = 4 |
| − | | |
+ | | Ingredients = 3 |
| − | | |
+ | | Candy Order = 3 |
| − | | |
+ | | Mixed = 5 |
| − | | |
+ | | easiest = ? |
| − | | |
+ | | hardest = [[Level 561]] and [[Level 570]] |
| − | | hardest = [[Level 573]] |
||
| − | | mostfun = [[Level 561]] |
||
}} |
}} |
||
{{Colourlevels |
{{Colourlevels |
||
| Level #1 = - |
| Level #1 = - |
||
| Level #2 = 0 |
| Level #2 = 0 |
||
| − | | Level #3 = |
+ | | Level #3 = 8 |
| − | | Level #4 = |
+ | | Level #4 = 7 |
}} |
}} |
||
{{Sugar Drop Levels |
{{Sugar Drop Levels |
||
| Line 61: | Line 57: | ||
{{DifficultyCode |
{{DifficultyCode |
||
| none = 0 |
| none = 0 |
||
| − | | very easy = |
+ | | very easy = 6 |
| − | | easy = |
+ | | easy = 4 |
| − | | somewhat easy = |
+ | | somewhat easy = 1 |
| − | | medium = |
+ | | medium = 2 |
| somewhat hard = 2 |
| somewhat hard = 2 |
||
| − | | hard = |
+ | | hard = 0 |
| − | | very hard = |
+ | | very hard = 0 |
| extremely hard = 0 |
| extremely hard = 0 |
||
| nearly impossible = 0 |
| nearly impossible = 0 |
||
| variable = 0 |
| variable = 0 |
||
}} |
}} |
||
| − | {| class="wikitable collapsible collapsed |
+ | {| class="wikitable levellist collapsible collapsed" cellpadding="1" cellspacing="1" border="0" |
|- |
|- |
||
| − | | |
+ | | scope="col" width:2%" | |
| − | ! scope="col" |
+ | ! scope="col" width:7%;" |[[Levels|<font color="white">Level</font>]] |
| − | ! scope="col" |
+ | ! scope="col" width:6%;" |[[Level Types|<font color="white">Type</font>]] |
| − | ! scope="col" |
+ | ! scope="col" width:8%;" |[[Moves|<font color="white">Moves</font>]] |
| − | ! scope="col" |
+ | ! scope="col" width:13%;" |[[Target Score|<font color="white">Target score</font>]] |
| − | ! scope="col" |
+ | ! scope="col" width:23%;" |Goal |
| − | ! scope="col" |
+ | ! scope="col" width:16%;" |Walkthrough |
| − | ! scope="col" |
+ | ! scope="col" width:33%;" |Remarks |
|- |
|- |
||
| style="background-color:{{B|561}};" | |
| style="background-color:{{B|561}};" | |
||
| − | | |
+ | | {{P|561}} |
| − | | |
+ | | {{Type|Mixed}} |
| − | | |
+ | | {{Moves|24}} |
| + | | 400,000 |
||
| − | | style="text-align:center;" |100,000 |
||
| − | | |
+ | | {{Jelly||55}}{{Dragon|3}} |
| − | | |
+ | | [[File:Candy Crush Saga LEVEL 561 NO BOOSTERS (new version)|thumb|center|200px]] |
| + | | |
||
| − | | style="text-align:center;" | |
||
|- |
|- |
||
| style="background-color:{{B|562}};" | |
| style="background-color:{{B|562}};" | |
||
| − | | |
+ | | {{P|562}} |
| − | | |
+ | | {{Type|Candy Order}} |
| − | | |
+ | | {{Moves|15}} |
| + | | 1,900 |
||
| − | | style="text-align:center;" |100,000 |
||
| + | | {{Order|candy frog|2|liquorice swirl|16}} |
||
| − | | style="text-align:center;" |{{Jelly||36}} |
||
| − | | |
+ | | [[File:Candy Crush Saga LEVEL 562 NO BOOSTERS (new version)|thumb|center|200px]] |
| + | | |
||
| − | | style="text-align:center;" |Very similar to [[level 549]] |
||
|- |
|- |
||
| style="background-color:{{B|563}};" | |
| style="background-color:{{B|563}};" | |
||
| − | | |
+ | | {{P|563}} |
| − | | |
+ | | {{Type|Ingredients}} |
| − | | |
+ | | {{Moves|15}} |
| + | | 30,000 |
||
| − | | style="text-align:center;" |100,000 |
||
| + | | {{Dragon|3}} |
||
| − | | style="text-align:center;" |{{Ingredients||5}} |
||
| − | | |
+ | | [[File:Candy Crush Saga LEVEL 563 NO BOOSTERS (new version)|thumb|center|200px]] |
| + | | |
||
| − | | style="text-align:center;" | |
||
|- |
|- |
||
| style="background-color:{{B|564}};" | |
| style="background-color:{{B|564}};" | |
||
| − | | |
+ | | {{P|564}} |
| − | | |
+ | | {{Type|Jelly}} |
| − | | |
+ | | {{Moves|27}} |
| + | | 128,000 |
||
| − | | style="text-align:center;" |90,000 |
||
| − | | |
+ | | {{Jelly|14|57}} |
| − | | |
+ | | [[File:Candy Crush Saga LEVEL 564 NO BOOSTERS (new version)|thumb|center|200px]] |
| + | | |
||
| − | | style="text-align:center;" | |
||
|- |
|- |
||
| style="background-color:{{B|565}};" | |
| style="background-color:{{B|565}};" | |
||
| − | | |
+ | | {{P|565}} |
| − | | |
+ | | {{Type|Mixed}} |
| − | | |
+ | | {{Moves|25}} |
| + | | 152,900 |
||
| − | | style="text-align:center;" |300,000 |
||
| + | | {{Jelly||51}}{{Order|toffee swirl|45}} |
||
| − | | style="text-align:center;" |{{Jelly||79}} |
||
| + | | [[File:Candy Crush Saga LEVEL 565 NO BOOSTERS (new version)|thumb|center|200px]] |
||
| − | | style="text-align:center;" | |
||
| + | | |
||
| − | | style="text-align:center;" |Starts a triplet of hexagon levels |
||
|- |
|- |
||
| style="background-color:{{B|566}};" | |
| style="background-color:{{B|566}};" | |
||
| − | | |
+ | | {{P|566}} |
| − | | |
+ | | {{Type|Candy Order}} |
| − | | |
+ | | {{Moves|17}} |
| + | | 8,000 |
||
| − | | style="text-align:center;" |50,000 |
||
| + | | {{Order|yellow|30|liquorice swirl|20}} |
||
| − | | style="text-align:center;" |{{Ingredients|4}} |
||
| + | | [[File:Candy Crush Saga LEVEL 566 NO BOOSTERS (new version)|thumb|center|200px]] |
||
| − | | style="text-align:center;" | |
||
| + | | |
||
| − | | style="text-align:center;" | |
||
|- |
|- |
||
| style="background-color:{{B|567}};" | |
| style="background-color:{{B|567}};" | |
||
| − | | |
+ | | {{P|567}} |
| − | | |
+ | | {{Type|Ingredients}} |
| − | | |
+ | | {{Moves|19}} |
| + | | 40,000 |
||
| − | | style="text-align:center;" |200,000 |
||
| + | | {{Dragon|4}} |
||
| − | | style="text-align:center;" |{{Jelly||67}} |
||
| + | | [[File:Candy Crush Saga LEVEL 567 NO BOOSTERS (new version)|thumb|center|200px]] |
||
| − | | style="text-align:center;" | |
||
| + | | |
||
| − | | style="text-align:center;" | |
||
|- |
|- |
||
| style="background-color:{{B|568}};" | |
| style="background-color:{{B|568}};" | |
||
| − | | |
+ | | {{P|568}} |
| − | | |
+ | | {{Type|Jelly}} |
| − | | |
+ | | {{Moves|18}} |
| + | | 64,000 |
||
| − | | style="text-align:center;" |50,000 |
||
| + | | {{Jelly|39|25}} |
||
| − | | style="text-align:center;" |{{Ingredients|1|1}} |
||
| − | | |
+ | | [[File:Candy Crush Saga LEVEL 568 NO BOOSTERS (new version)|thumb|center|200px]] |
| + | | |
||
| − | | style="text-align:center;" | |
||
|- |
|- |
||
| style="background-color:{{B|569}};" | |
| style="background-color:{{B|569}};" | |
||
| − | | |
+ | | {{P|569}} |
| − | | |
+ | | {{Type|Mixed}} |
| − | | |
+ | | {{Moves|22}} |
| + | | 100,000 |
||
| − | | style="text-align:center;" |70,000 |
||
| + | | {{Jelly||51}}{{Dragon|5}} |
||
| − | | style="text-align:center;" |{{Ingredients|3|3}} |
||
| − | | |
+ | | [[File:Candy Crush Saga LEVEL 569 NO BOOSTERS (new version)|thumb|center|200px]] |
| + | | |
||
| − | | style="text-align:center;" | |
||
|- |
|- |
||
| style="background-color:{{B|570}};" | |
| style="background-color:{{B|570}};" | |
||
| − | | |
+ | | {{P|570}} |
| − | | |
+ | | {{Type|Mixed}} |
| − | | |
+ | | {{Moves|27}} |
| + | | 71,000 |
||
| − | | style="text-align:center;" |50,000 |
||
| − | | |
+ | | {{Jelly|63}}{{Order|toffee swirl|80}} |
| + | | [[File:Candy Crush Saga LEVEL 570 NO BOOSTERS (new version)|thumb|center|200px]] |
||
| − | | style="text-align:center;" | |
||
| + | | |
||
| − | | style="text-align:center;" | |
||
|- |
|- |
||
| style="background-color:{{B|571}};" | |
| style="background-color:{{B|571}};" | |
||
| − | | |
+ | | {{P|571}} |
| − | | |
+ | | {{Type|Jelly}} |
| − | | |
+ | | {{Moves|25}} |
| + | | 128,000 |
||
| − | | style="text-align:center;" |40,000 |
||
| + | | {{Jelly|42|22}} |
||
| − | | style="text-align:center;" |{{Ingredients|2|2}} |
||
| − | | |
+ | | [[File:Candy Crush Saga LEVEL 571 NO BOOSTERS (new version)|thumb|center|200px]] |
| + | | |
||
| − | | style="text-align:center;" | |
||
|- |
|- |
||
| style="background-color:{{B|572}};" | |
| style="background-color:{{B|572}};" | |
||
| − | | |
+ | | {{P|572}} |
| − | | |
+ | | {{Type|Candy Order}} |
| − | | |
+ | | {{Moves|21}} |
| + | | 7,500 |
||
| − | | style="text-align:center;" |20,000 |
||
| − | | |
+ | | {{Order|toffee swirl|48}} |
| − | | |
+ | | [[File:Candy Crush Saga LEVEL 572 NO BOOSTERS (new version)|thumb|center|200px]] |
| + | | |
||
| − | | style="text-align:center;" | |
||
|- |
|- |
||
| style="background-color:{{B|573}};" | |
| style="background-color:{{B|573}};" | |
||
| − | | |
+ | | {{P|573}} |
| − | | |
+ | | {{Type|Ingredients}} |
| − | | |
+ | | {{Moves|20}} |
| + | | 25,000 |
||
| − | | style="text-align:center;" |150,000 |
||
| + | | {{Dragon|9}} |
||
| − | | style="text-align:center;" |{{Jelly||66}} |
||
| − | | |
+ | | [[File:Candy Crush Saga LEVEL 573 NO BOOSTERS (new version)|thumb|center|200px]] |
| + | | |
||
| − | | style="text-align:center;" | |
||
|- |
|- |
||
| style="background-color:{{B|574}};" | |
| style="background-color:{{B|574}};" | |
||
| − | | |
+ | | {{P|574}} |
| − | | |
+ | | {{Type|Mixed}} |
| − | | |
+ | | {{Moves|24}} |
| + | | 120,000 |
||
| − | | style="text-align:center;" |100,000 |
||
| + | | {{Jelly|24|36}}{{Order|liquorice swirl|8|frosting|52}} |
||
| − | | style="text-align:center;" |{{Ingredients|4|4}} |
||
| + | | [[File:Candy Crush Saga LEVEL 574 NO BOOSTERS (new version)|thumb|center|200px]] |
||
| − | | style="text-align:center;" | |
||
| + | | |
||
| − | | style="text-align:center;" | |
||
|- |
|- |
||
| style="background-color:{{B|575}};" | |
| style="background-color:{{B|575}};" | |
||
| − | | |
+ | | {{P|575}} |
| − | | |
+ | | {{Type|Jelly}} |
| − | | |
+ | | {{Moves|20}} |
| + | | 100,000 |
||
| − | | style="text-align:center;" |145,000 |
||
| − | | |
+ | | {{Jelly||75}} |
| − | | |
+ | | [[File:Candy Crush Saga LEVEL 575 NO BOOSTERS (new version)|thumb|center|200px]] |
| + | | |
||
| − | | style="text-align:center;" | |
||
|} |
|} |
||
| Line 232: | Line 228: | ||
Levels= |
Levels= |
||
<gallery navigation="true"> |
<gallery navigation="true"> |
||
| − | Level 561 |
+ | Level 561.png|Level 561 - {{Type|Mixed}}|link=Level 561 |
| − | Level 562 |
+ | Level 562.png|Level 562 - {{Type|Candy Order}}|link=Level 562 |
| − | Level 563 |
+ | Level 563.png|Level 563 - {{Type|Ingredients}}|link=Level 563 |
| − | Level 564 |
+ | Level 564.png|Level 564 - {{Type|Jelly}}|link=Level 564 |
| − | Level 565 |
+ | Level 565.png|Level 565 - {{Type|Mixed}}|link=Level 565 |
| − | Level 566 |
+ | Level 566.png|Level 566 - {{Type|Candy Order}}|link=Level 566 |
| − | Level 567 |
+ | Level 567.png|Level 567 - {{Type|Ingredients}}|link=Level 567 |
| − | Level 568 |
+ | Level 568.png|Level 568 - {{Type|Jelly}}|link=Level 568 |
| − | Level 569 |
+ | Level 569.png|Level 569 - {{Type|Mixed}}|link=Level 569 |
| − | Level 570 |
+ | Level 570.png|Level 570 - {{Type|Mixed}}|link=Level 570 |
| − | Level 571 |
+ | Level 571.png|Level 571 - {{Type|Jelly}}|link=Level 571 |
| − | Level 572 |
+ | Level 572.png|Level 572 - {{Type|Candy Order}}|link=Level 572 |
| − | Level 573 |
+ | Level 573.png|Level 573 - {{Type|Ingredients}}|link=Level 573 |
| − | Level 574 |
+ | Level 574.png|Level 574 - {{Type|Mixed}}|link=Level 574 |
| − | Level 575 |
+ | Level 575.png|Level 575 - {{Type|Jelly}}|link=Level 575 |
</gallery> |
</gallery> |
||
|-| |
|-| |
||
| Line 273: | Line 269: | ||
==Trivia== |
==Trivia== |
||
[[File:Biscuit-Bungalow (old).png|thumb|Old name colour in the episode banner]] |
[[File:Biscuit-Bungalow (old).png|thumb|Old name colour in the episode banner]] |
||
| − | *This episode is the third episode to be released on a Monday; the first was |
+ | *This episode is the third episode to be released on a Monday; the first was [[Pearly White Plains]] and the second was [[Polkapalooza (Episode 28)]]. |
| + | **Hence, this broke off a short trend of releasing episodes on Wednesdays. Nevertheless, it was resumed in the [[Gummy Gardens|next episode]]. |
||
| ⚫ | *This is the third episode that is based on one of the fairy tales, |
||
| ⚫ | |||
| − | *With four [[Ingredients Levels|ingredient levels]] in a row, this episode is the first episode in Reality where there are more than 2 Ingredients Levels in a row. This episode breaks [[Dizzy Dessert]]'s record of having three ingredient levels in a row in Dreamworld. |
||
| ⚫ | *This is the third episode that is based on one of the fairy tales, ''Three Little Pigs''. The first fairy tale based episode is [[Gingerbread Glade]], which is based on ''Hansel and Gretel'', and the second is [[Candy Clouds (Episode 20)|Candy Clouds]], which is based on ''Jack and the Beanstalk''. |
||
| ⚫ | |||
| + | *Before Dreamworld's removal and its redesign, it broke [[Dizzy Dessert]]'s record of having three [[Ingredients Levels|ingredient levels]] in a row, with four in a row. |
||
| ⚫ | |||
| ⚫ | |||
| − | *This is the fourth episode in a row to be released faster than [[Ice Cream Caves]] (it took 71 days for it to come out). |
||
| − | *This episode |
+ | *This episode was released on the same date as the Dreamworld episode [[Sweet Dreams]]. This is true for both the flash and the mobile release dates. |
| ⚫ | |||
| − | *Like Ice Cream Caves and [[Sticky Savannah]], there are only two [[Candy Order levels]]. |
||
| − | *This |
+ | *This used to be the second episode with 5 very hard levels, the first being [[Rainbow Runway]]. |
| ⚫ | |||
| ⚫ | |||
| − | *This episode |
+ | *This is the first episode that starts with its hardest level: [[level 561]]. |
| + | *This episode used to be impossible due to [[level 572]]. Said level required more toffee swirls than the maximum possible. 70 toffee swirls were required in version 1.176, while the maximum in said version was 63. Toffee swirl cannons used to spawn only three-layered toffee swirls, but they can spawn any layer since version 1.177. However, the difficulty was still impossible because 60 toffee swirls were required, and the maximum possible was 54. This was fixed on 27 May 2020, reducing it to 52 and changing the difficulty of the level to "somewhat easy". |
||
| − | *The level types are the same as Ice Cream Caves, with '''7''' Jelly levels, '''6''' Ingredients levels, and '''2''' Candy Order levels. |
||
| − | *This episode |
+ | *This episode's background, map texture and the story is reused for [[Marshmallow Mansion]]. This is the first episode which starts a series of wholly reused episodes. This trend has continued, with the episodes in relative order save the exception of [[Creator's Crib]]. |
| − | *This is also the 6th consecutive episode that ends with a 5-coloured level, Level 575. |
||
| − | *This used to be the second episode with 5 very hard levels. The first being [[Rainbow Runway]]. |
||
| ⚫ | |||
| − | **After some levels got 5 additional moves, this is the episode to have the most levels with 35 moves, with 7. |
||
| − | |||
{{EpisodesNav}} |
{{EpisodesNav}} |
||
[[Category:Episodes released in 2014]] |
[[Category:Episodes released in 2014]] |
||
| ⚫ | |||
| − | [[Category:Very hard episodes]] |
||
[[Category:Building-themed episodes]] |
[[Category:Building-themed episodes]] |
||
[[Category:Episodes with Bubblegum Troll]] |
[[Category:Episodes with Bubblegum Troll]] |
||
| ⚫ | |||
Latest revision as of 13:34, 23 September 2023
| Reality | Dreamworld |
|---|
| Episode | 39 |
|---|---|
| World (Flash) | 7 |
| World (HTML5) | 8 |
| Levels | 561-575 |
| Characters | Pete, Bubblegum Troll, and Misty |
| Champion title | Bubblegum Buster |
| New features | |
| Release date | |
| Difficulty | Easy |
| Previous | Next |

Biscuit Bungalow is the 39th episode in Candy Crush Saga and the fourth episode of World 8 (HTML5). This episode was released on 14 April 2014. The champion title for this episode is Bubblegum Buster.
Story[]
Before episode:
The Bubblegum Troll blows up his giant bubblegum that blocks Pete's way back to his bungalow.
After episode:
Tiffi gets out of the screen then rides onto Misty of Minty Meadow. The unicorn jumps and pops the bubble with her horn.
New things[]
- Gummi dragons are enclosed in two-layered sugar chests for the first time in level 561.
- One-layered frosting is locked by a five-layered sugar chest for the first time in level 569.
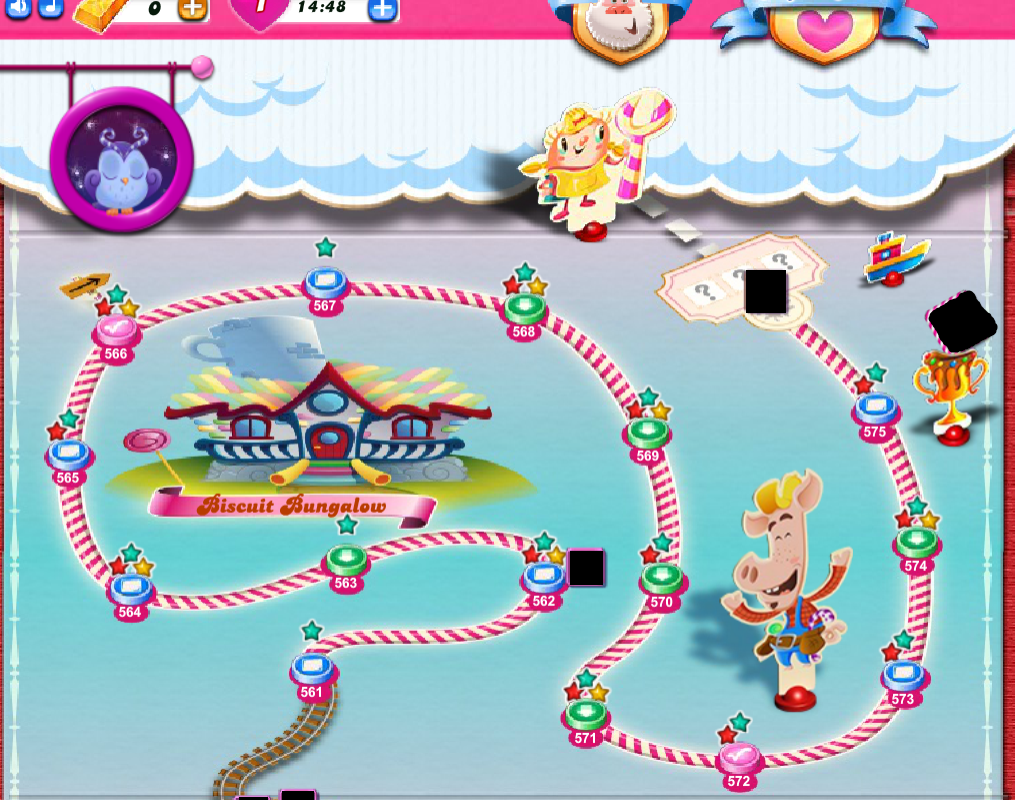
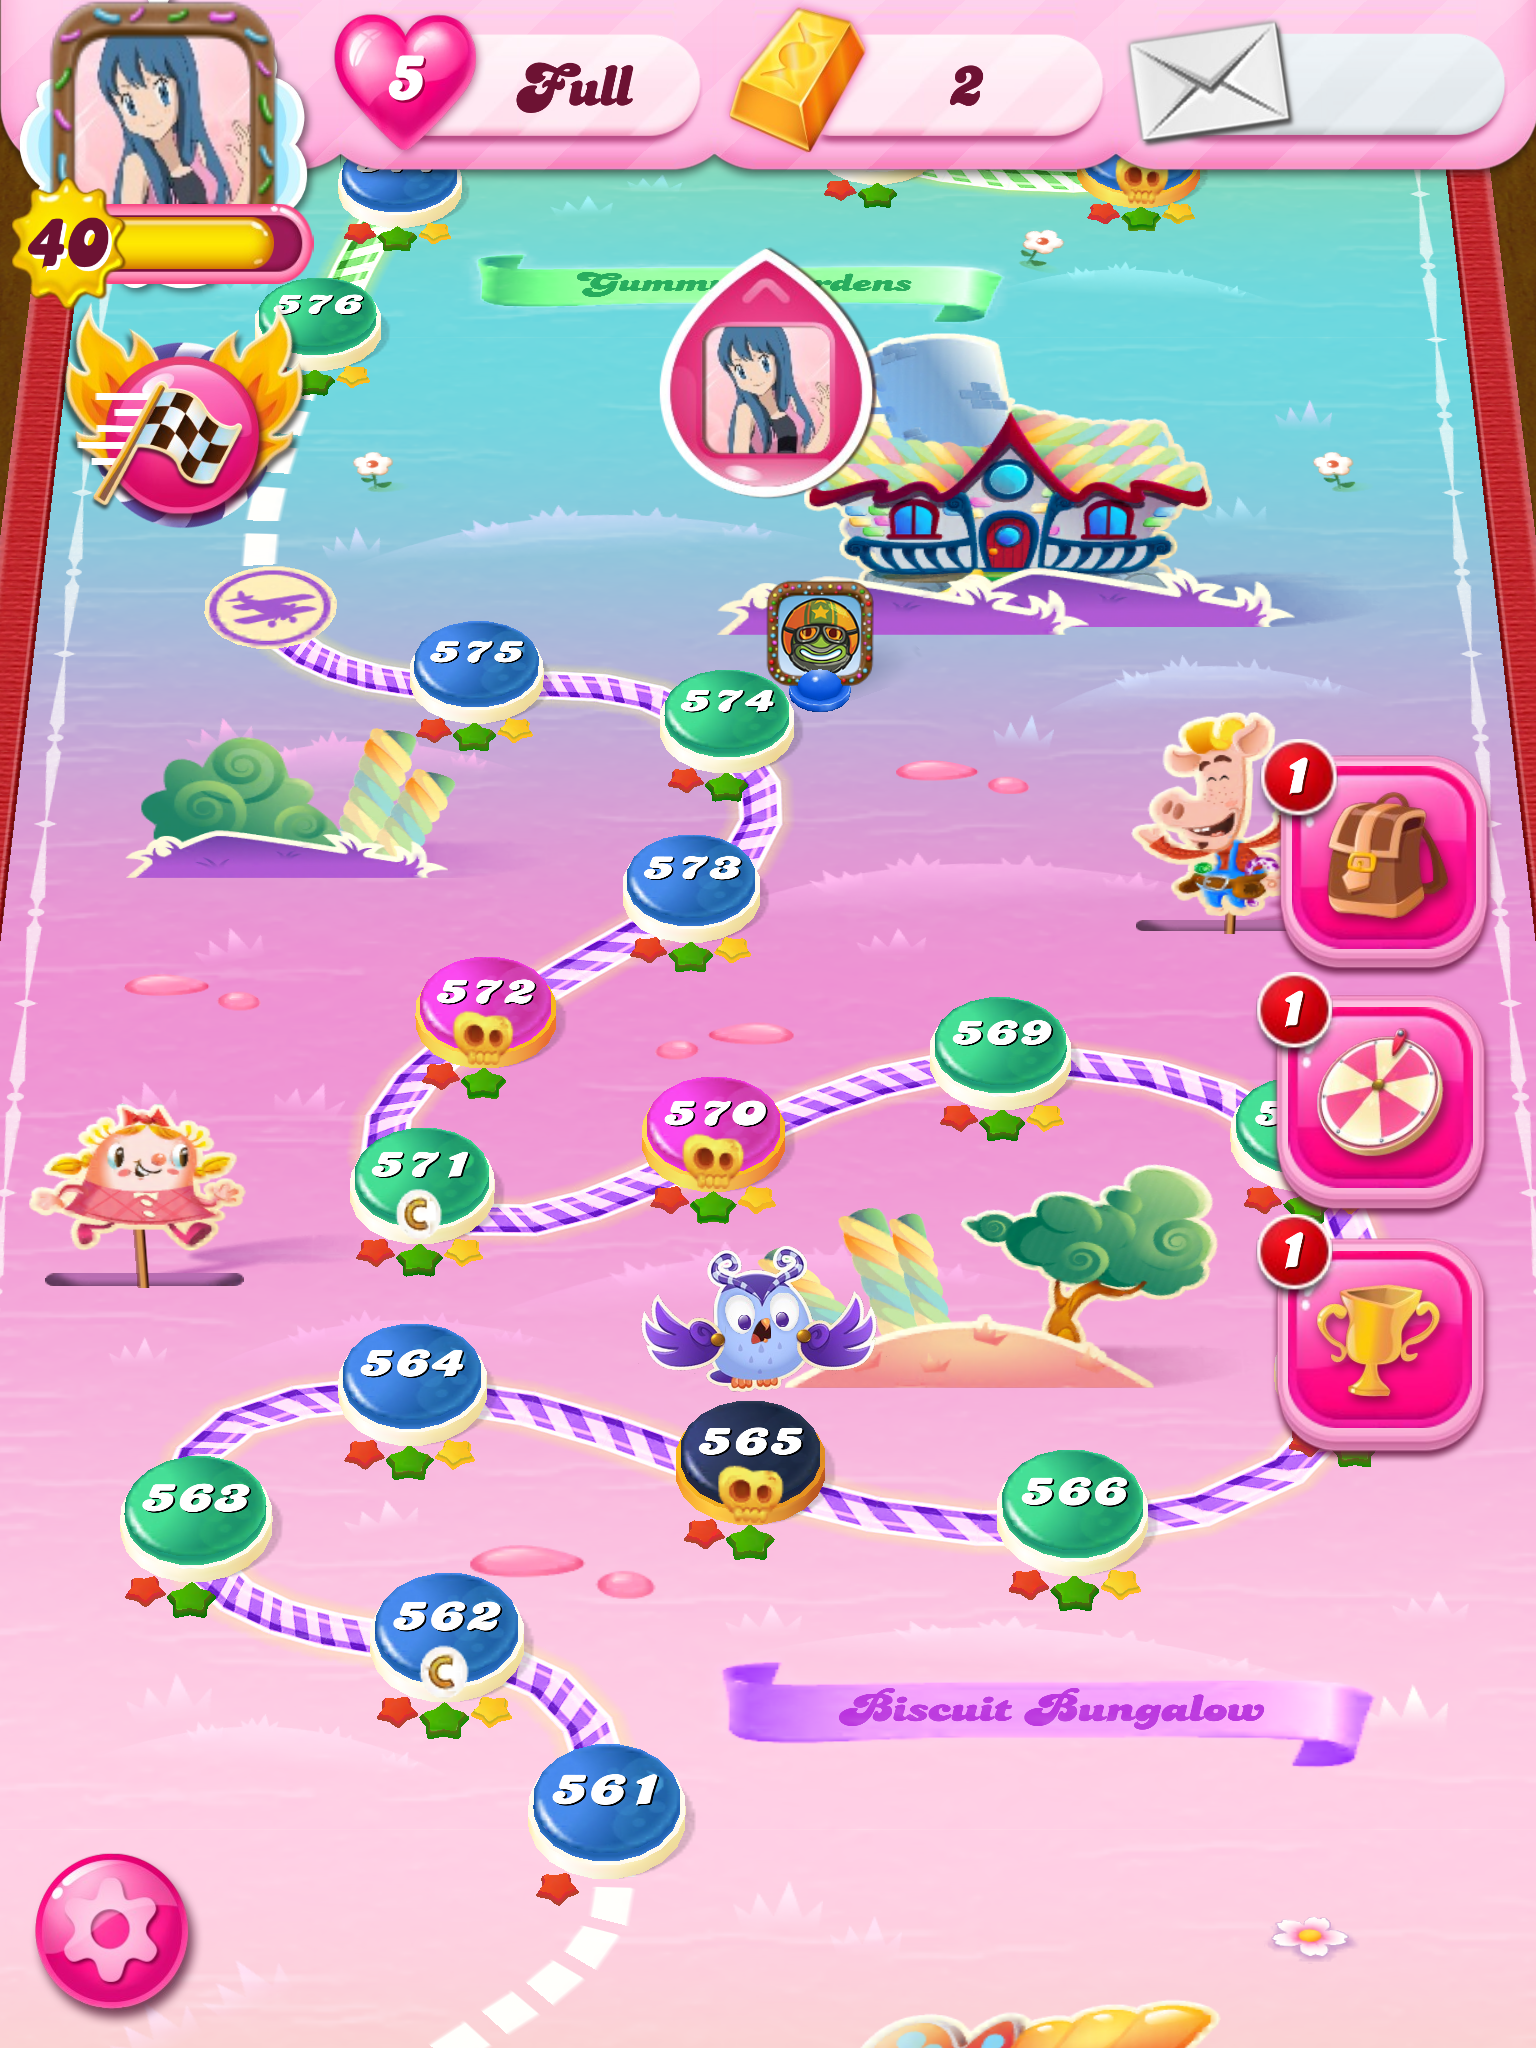
Levels[]

This episode contains levels 561-575.
Biscuit Bungalow is an anomalously easy episode, with an exceptionally low mean of 2.33, a rare feat at this point in the game! Most levels in this episode are easy, and the two hardest levels: 561 and 570, are rated somewhat hard. With that, it is a lot easier than the previous episode, Jelly Wagon, the easiest since Chocolate Mountains, and the first episode to not contain a level rated "hard" or higher since Lemonade Lake (Episode 3), over 550 levels ago!
| 4 | 3 | 3 | 5 |
| The easiest : ? |
The hardest : Level 561 and Level 570 |
| 4 |
5 |
|---|---|
| 8 | 7 |
| Level 562 | Level 565 | |||||||||||||
Difficulty code summary (details here)
None • Very Easy • Easy • Somewhat Easy • Medium • Somewhat Hard • Hard • Very Hard • Extremely Hard • Nearly Impossible • Variable
| 0 | 6 | 4 | 1 | 2 | 2 | 0 | 0 | 0 | 0 | 0 |
| Level | Type | Moves | Target score | Goal | Walkthrough | Remarks | |
|---|---|---|---|---|---|---|---|
| 561 | 400,000 |
|
|||||
| 562 | 1,900 | ||||||
| 563 | 30,000 | ||||||
| 564 | 128,000 | ||||||
| 565 | 152,900 |
|
|||||
| 566 | 8,000 | ||||||
| 567 | 40,000 | ||||||
| 568 | 64,000 | ||||||
| 569 | 100,000 |
|
|||||
| 570 | 71,000 |
|
|||||
| 571 | 128,000 | ||||||
| 572 | 7,500 | ||||||
| 573 | 25,000 | ||||||
| 574 | 120,000 |
|
|||||
| 575 | 100,000 |


Gallery[]
")
")
")
")
")
")
")
")
")
")
")
")
")
")
")
")
")
")
")
")
")
")
")
")
Trivia[]


.png)
Old name colour in the episode banner
- This episode is the third episode to be released on a Monday; the first was Pearly White Plains and the second was Polkapalooza (Episode 28).
- Hence, this broke off a short trend of releasing episodes on Wednesdays. Nevertheless, it was resumed in the next episode.
- This is also the second episode in a row to be released in 2 weeks.
- This is the third episode that is based on one of the fairy tales, Three Little Pigs. The first fairy tale based episode is Gingerbread Glade, which is based on Hansel and Gretel, and the second is Candy Clouds, which is based on Jack and the Beanstalk.
- Before Dreamworld's removal and its redesign, it broke Dizzy Dessert's record of having three ingredient levels in a row, with four in a row.
- This episode continues the trend of having no timed levels before they were removed.
- This episode was released on the same date as the Dreamworld episode Sweet Dreams. This is true for both the flash and the mobile release dates.
- This episode's pathway is the same as the one from Pudding Pagoda. It is the first episode to have an identical pathway as a previous episode.
- This used to be the second episode with 5 very hard levels, the first being Rainbow Runway.
- However, a nerf of level 562 caused the number of very hard levels to decrease to four. They are levels 565, 566, 567, and 573. After redesigns, there are no very hard levels, not even a hard level.
- This is the first episode that starts with its hardest level: level 561.
- This episode used to be impossible due to level 572. Said level required more toffee swirls than the maximum possible. 70 toffee swirls were required in version 1.176, while the maximum in said version was 63. Toffee swirl cannons used to spawn only three-layered toffee swirls, but they can spawn any layer since version 1.177. However, the difficulty was still impossible because 60 toffee swirls were required, and the maximum possible was 54. This was fixed on 27 May 2020, reducing it to 52 and changing the difficulty of the level to "somewhat easy".
- This episode's background, map texture and the story is reused for Marshmallow Mansion. This is the first episode which starts a series of wholly reused episodes. This trend has continued, with the episodes in relative order save the exception of Creator's Crib.
| Candy Crush Saga Reality episodes |
|---|