m (Changed protection level for "Toffee Tower" ([edit=autoconfirmed] (indefinite) [move=sysop] (indefinite))) |
No edit summary |
||
| (20 intermediate revisions by 8 users not shown) | |||
| Line 1: | Line 1: | ||
{{Infobox episode |
{{Infobox episode |
||
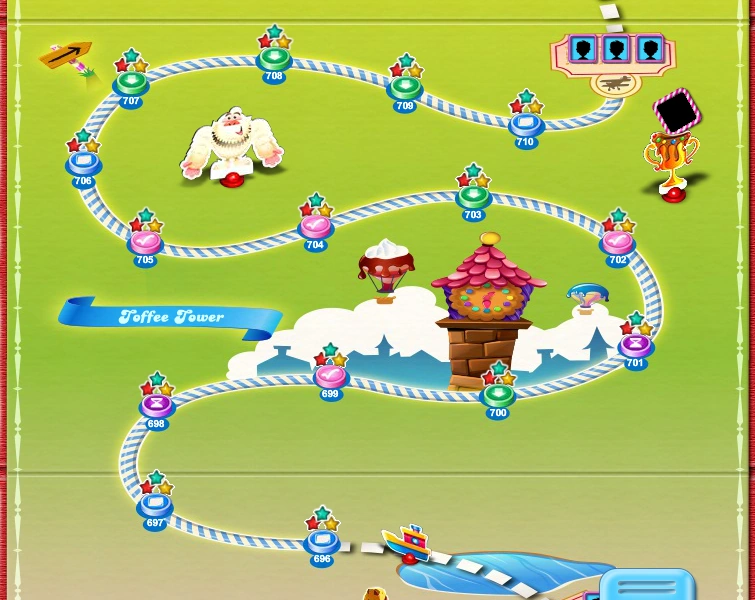
| image1 = Toffee Tower Map.png |
| image1 = Toffee Tower Map.png |
||
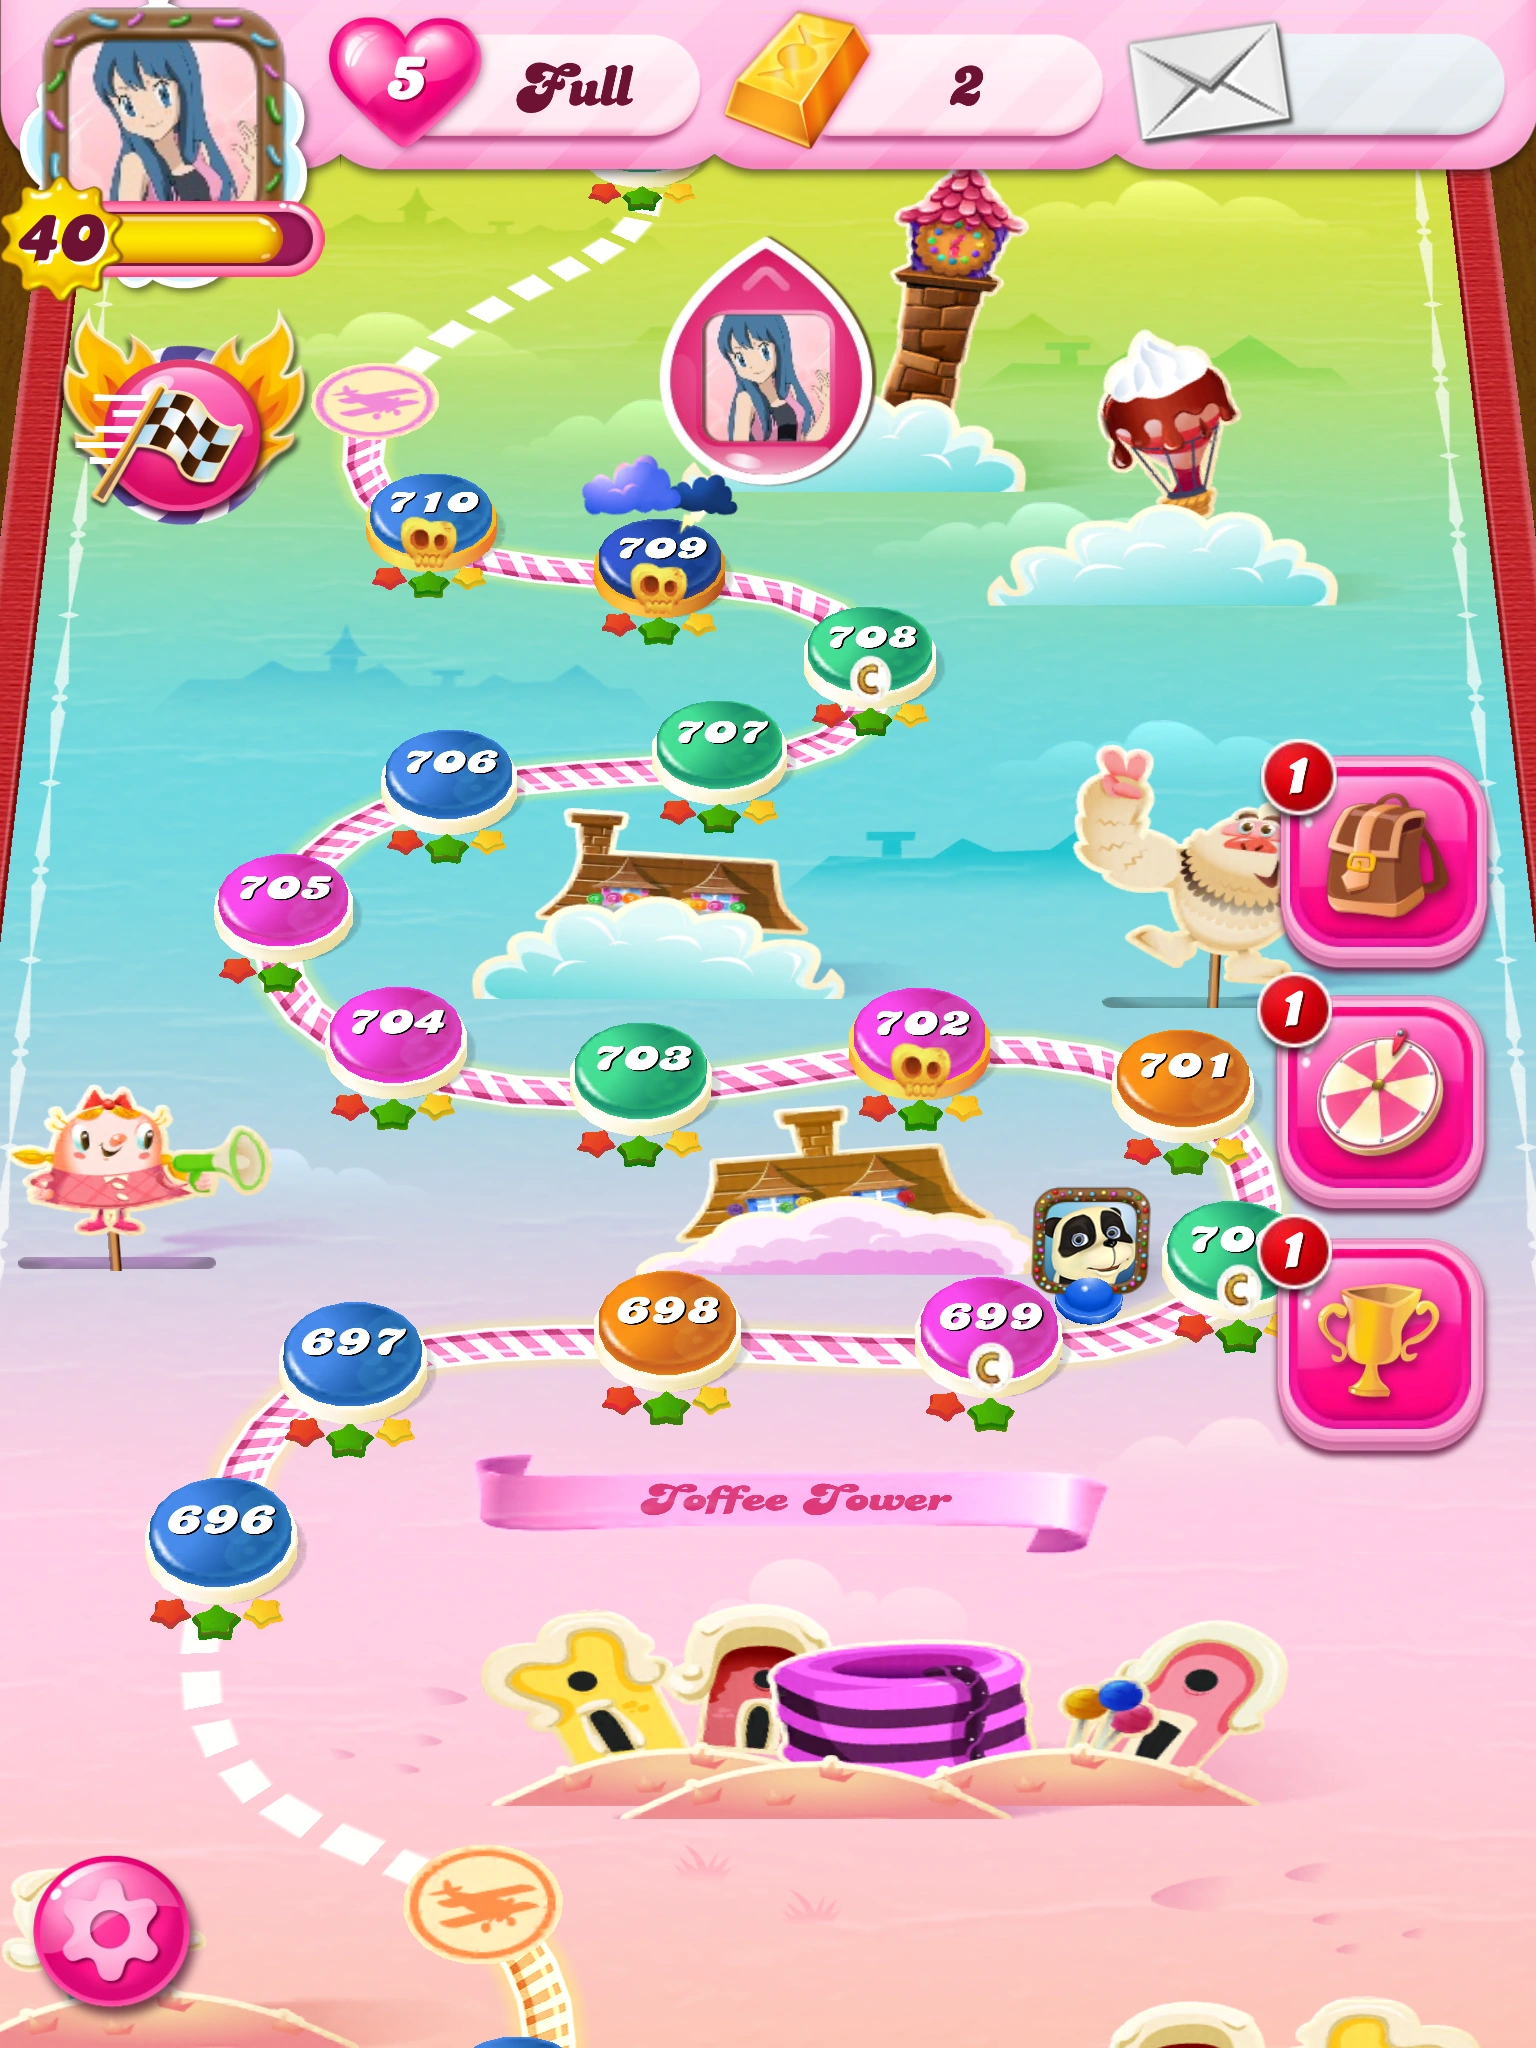
| − | | image2 = Toffee Tower |
+ | | image2 = Toffee Tower HTML5.png |
| image3 = BackgroundEp48.png |
| image3 = BackgroundEp48.png |
||
| episode = 48 |
| episode = 48 |
||
| characters = [[Mr. Yeti]] |
| characters = [[Mr. Yeti]] |
||
| champion = Clockwork King |
| champion = Clockwork King |
||
| − | | new = {{Blocker|Liquorice Lock}} ({{Other|Wrapped Candy}})<br />{{Other|Coconut Wheel}} on board <br /> {{Other| |
+ | | new = {{Blocker|Liquorice Lock}} ({{Other|Wrapped Candy}})<br />{{Other|Coconut Wheel}} on board <br /> {{Other|CannonBM}} (unofficial) |
| released = {{Web|1 October 2014}}<br />{{Mobile|27 October 2014}} |
| released = {{Web|1 October 2014}}<br />{{Mobile|27 October 2014}} |
||
| − | | difficulty = Somewhat |
+ | | difficulty = Easy - Somewhat Easy |
}} |
}} |
||
{{Episode Passage|48th|sixth and final|Eight|1 October 2014|Clockwork King}} |
{{Episode Passage|48th|sixth and final|Eight|1 October 2014|Clockwork King}} |
||
| Line 28: | Line 28: | ||
{{Contain Levels|Reality 48|696|710}} |
{{Contain Levels|Reality 48|696|710}} |
||
| − | While most are easy |
+ | While most levels are easy in this episode, it contains one hard level: {{P|702}}. Level {{P|710}} is also considered somewhat difficult. Overall, it is an easy - somewhat easy episode and is considered much easier than the previous episode, [[Choco Rio Grande]]. |
{{Episodelevels |
{{Episodelevels |
||
| Line 37: | Line 37: | ||
| Mixed = - |
| Mixed = - |
||
| easiest = [[Level 701]] |
| easiest = [[Level 701]] |
||
| − | | hardest = [[Level |
+ | | hardest = [[Level 702]] |
| mostfun = [[Level 701]] |
| mostfun = [[Level 701]] |
||
}} |
}} |
||
| Line 43: | Line 43: | ||
| Level #1 = - |
| Level #1 = - |
||
| Level #2 = 0 |
| Level #2 = 0 |
||
| − | | Level #3 = |
+ | | Level #3 = 4 |
| − | | Level #4 = |
+ | | Level #4 = 11 |
| − | | Level #5 = 3 |
||
}} |
}} |
||
{{Sugar Drop Levels |
{{Sugar Drop Levels |
||
| Line 60: | Line 59: | ||
{{DifficultyCode |
{{DifficultyCode |
||
| none = 0 |
| none = 0 |
||
| − | | very easy = |
+ | | very easy = 3 |
| easy = 3 |
| easy = 3 |
||
| − | | somewhat easy = |
+ | | somewhat easy = 4 |
| − | | medium = |
+ | | medium = 3 |
| somewhat hard = 1 |
| somewhat hard = 1 |
||
| − | | hard = |
+ | | hard = 1 |
| − | | very hard = |
+ | | very hard = 0 |
| extremely hard = 0 |
| extremely hard = 0 |
||
| nearly impossible = 0 |
| nearly impossible = 0 |
||
| Line 85: | Line 84: | ||
| style="text-align:center;" |{{P|696}} |
| style="text-align:center;" |{{P|696}} |
||
| style="text-align:center;" |{{Type|Jelly}} |
| style="text-align:center;" |{{Type|Jelly}} |
||
| − | | style="text-align:center;" |75 |
+ | | style="text-align:center;" |{{Moves|75}} |
| style="text-align:center;" |100,000 |
| style="text-align:center;" |100,000 |
||
| style="text-align:center;" |{{Jelly||52}} |
| style="text-align:center;" |{{Jelly||52}} |
||
| Line 94: | Line 93: | ||
| style="text-align:center;" |{{P|697}} |
| style="text-align:center;" |{{P|697}} |
||
| style="text-align:center;" |{{Type|Jelly}} |
| style="text-align:center;" |{{Type|Jelly}} |
||
| − | | style="text-align:center;" |35 |
+ | | style="text-align:center;" |{{Moves|35}} |
| style="text-align:center;" |50,000 |
| style="text-align:center;" |50,000 |
||
| style="text-align:center;" |{{jelly||39}} |
| style="text-align:center;" |{{jelly||39}} |
||
| Line 103: | Line 102: | ||
| style="text-align:center;" |{{P|698}} |
| style="text-align:center;" |{{P|698}} |
||
| style="text-align:center;" |{{Type|Moves}} |
| style="text-align:center;" |{{Type|Moves}} |
||
| − | | style="text-align:center;" |30 |
+ | | style="text-align:center;" |{{Moves|30}} |
| style="text-align:center;" |75,000 |
| style="text-align:center;" |75,000 |
||
| style="text-align:center;" |{{Score|75,000}} |
| style="text-align:center;" |{{Score|75,000}} |
||
| Line 112: | Line 111: | ||
| style="text-align:center;" |{{P|699}} |
| style="text-align:center;" |{{P|699}} |
||
| style="text-align:center;" |{{Type|Candy Order}} |
| style="text-align:center;" |{{Type|Candy Order}} |
||
| − | | style="text-align:center;" | |
+ | | style="text-align:center;" |{{Moves|20}} |
| style="text-align:center;" |150,000 |
| style="text-align:center;" |150,000 |
||
| − | | style="text-align:center;" |{{Order| |
+ | | style="text-align:center;" |{{Order|striped|20|blue|100}} |
| − | | style="text-align:center;" | |
+ | | style="text-align:center;" | |
| style="text-align:center;" | |
| style="text-align:center;" | |
||
|- |
|- |
||
| Line 121: | Line 120: | ||
| style="text-align:center;" |{{P|700}} |
| style="text-align:center;" |{{P|700}} |
||
| style="text-align:center;" |{{Type|Ingredients}} |
| style="text-align:center;" |{{Type|Ingredients}} |
||
| − | | style="text-align:center;" | |
+ | | style="text-align:center;" |{{Moves|25}} |
| style="text-align:center;" |25,000 |
| style="text-align:center;" |25,000 |
||
| style="text-align:center;" |{{Ingredients|2|1}} |
| style="text-align:center;" |{{Ingredients|2|1}} |
||
| − | | style="text-align:center;" | |
+ | | style="text-align:center;" | |
| style="text-align:center;" | |
| style="text-align:center;" | |
||
|- |
|- |
||
| Line 130: | Line 129: | ||
| style="text-align:center;" |{{P|701}} |
| style="text-align:center;" |{{P|701}} |
||
| style="text-align:center;" |{{Type|Moves}} |
| style="text-align:center;" |{{Type|Moves}} |
||
| − | | style="text-align:center;" |20 |
+ | | style="text-align:center;" |{{Moves|20}} |
| style="text-align:center;" |125,000 |
| style="text-align:center;" |125,000 |
||
| style="text-align:center;" |{{Score|125,000}} |
| style="text-align:center;" |{{Score|125,000}} |
||
| Line 139: | Line 138: | ||
| style="text-align:center;" |{{P|702}} |
| style="text-align:center;" |{{P|702}} |
||
| style="text-align:center;" |{{Type|Candy Order}} |
| style="text-align:center;" |{{Type|Candy Order}} |
||
| − | | style="text-align:center;" |12 |
+ | | style="text-align:center;" |{{Moves|12}} |
| style="text-align:center;" |10,000 |
| style="text-align:center;" |10,000 |
||
| style="text-align:center;" |{{order|wrapped|20}} |
| style="text-align:center;" |{{order|wrapped|20}} |
||
| Line 148: | Line 147: | ||
| style="text-align:center;" |{{P|703}} |
| style="text-align:center;" |{{P|703}} |
||
| style="text-align:center;" |{{Type|Ingredients}} |
| style="text-align:center;" |{{Type|Ingredients}} |
||
| − | | style="text-align:center;" |50 |
+ | | style="text-align:center;" |{{Moves|50}} |
| style="text-align:center;" |100,000 |
| style="text-align:center;" |100,000 |
||
| style="text-align:center;" |{{Ingredients|5|5}} |
| style="text-align:center;" |{{Ingredients|5|5}} |
||
| Line 157: | Line 156: | ||
| style="text-align:center;" |{{P|704}} |
| style="text-align:center;" |{{P|704}} |
||
| style="text-align:center;" |{{Type|Candy Order}} |
| style="text-align:center;" |{{Type|Candy Order}} |
||
| − | | style="text-align:center;" |20 |
+ | | style="text-align:center;" |{{Moves|20}} |
| style="text-align:center;" |10,000 |
| style="text-align:center;" |10,000 |
||
| style="text-align:center;" |{{Order|green|50}} |
| style="text-align:center;" |{{Order|green|50}} |
||
| Line 166: | Line 165: | ||
| style="text-align:center;" |{{P|705}} |
| style="text-align:center;" |{{P|705}} |
||
| style="text-align:center;" |{{Type|Candy Order}} |
| style="text-align:center;" |{{Type|Candy Order}} |
||
| − | | style="text-align:center;" |60 |
+ | | style="text-align:center;" |{{Moves|60}} |
| style="text-align:center;" |200,000 |
| style="text-align:center;" |200,000 |
||
| style="text-align:center;" |{{Order|colour|5|wrapped|10|striped|15}} |
| style="text-align:center;" |{{Order|colour|5|wrapped|10|striped|15}} |
||
| Line 175: | Line 174: | ||
| style="text-align:center;" |{{P|706}} |
| style="text-align:center;" |{{P|706}} |
||
| style="text-align:center;" |{{Type|Jelly}} |
| style="text-align:center;" |{{Type|Jelly}} |
||
| − | | style="text-align:center;" |35 |
+ | | style="text-align:center;" |{{Moves|35}} |
| style="text-align:center;" |60,000 |
| style="text-align:center;" |60,000 |
||
| style="text-align:center;" |{{Jelly|77}} |
| style="text-align:center;" |{{Jelly|77}} |
||
| Line 184: | Line 183: | ||
| style="text-align:center;" |{{P|707}} |
| style="text-align:center;" |{{P|707}} |
||
| style="text-align:center;" |{{Type|Ingredients}} |
| style="text-align:center;" |{{Type|Ingredients}} |
||
| − | | style="text-align:center;" |45 |
+ | | style="text-align:center;" |{{Moves|45}} |
| style="text-align:center;" |75,000 |
| style="text-align:center;" |75,000 |
||
| style="text-align:center;" |{{Ingredients|3|2}} |
| style="text-align:center;" |{{Ingredients|3|2}} |
||
| Line 193: | Line 192: | ||
| style="text-align:center;" |{{P|708}} |
| style="text-align:center;" |{{P|708}} |
||
| style="text-align:center;" |{{Type|Ingredients}} |
| style="text-align:center;" |{{Type|Ingredients}} |
||
| − | | style="text-align:center;" |25 |
+ | | style="text-align:center;" |{{Moves|25}} |
| style="text-align:center;" |10,000 |
| style="text-align:center;" |10,000 |
||
| style="text-align:center;" |{{Ingredients||2}} |
| style="text-align:center;" |{{Ingredients||2}} |
||
| Line 202: | Line 201: | ||
| style="text-align:center;" |{{P|709}} |
| style="text-align:center;" |{{P|709}} |
||
| style="text-align:center;" |{{Type|Ingredients}} |
| style="text-align:center;" |{{Type|Ingredients}} |
||
| − | | style="text-align:center;" | |
+ | | style="text-align:center;" |{{Moves|25}} |
| style="text-align:center;" |40,000 |
| style="text-align:center;" |40,000 |
||
| − | | style="text-align:center;" |{{Ingredients| |
+ | | style="text-align:center;" |{{Ingredients|3|3}} |
| − | | style="text-align:center;" | |
+ | | style="text-align:center;" | |
| style="text-align:center;" | |
| style="text-align:center;" | |
||
|- |
|- |
||
| Line 211: | Line 210: | ||
| style="text-align:center;" |{{P|710}} |
| style="text-align:center;" |{{P|710}} |
||
| style="text-align:center;" |{{Type|Jelly}} |
| style="text-align:center;" |{{Type|Jelly}} |
||
| − | | style="text-align:center;" |50 |
+ | | style="text-align:center;" |{{Moves|50}} |
| style="text-align:center;" |100,000 |
| style="text-align:center;" |100,000 |
||
| style="text-align:center;" |{{Jelly||27}} |
| style="text-align:center;" |{{Jelly||27}} |
||
| Line 232: | Line 231: | ||
<gallery navigation="true"> |
<gallery navigation="true"> |
||
Level 696 Reality.png|Level 696 - {{Type|Jelly}}|link=Level 696 |
Level 696 Reality.png|Level 696 - {{Type|Jelly}}|link=Level 696 |
||
| − | Level 697 |
+ | Level 697 V2 HTML5.png|Level 697 - {{Type|Jelly}}|link=Level 697 |
| − | Level 698 Reality.png|Level 698 - {{Type| |
+ | Level 698 Reality 2nd Version.png|Level 698 - {{Type|Moves}}|link=Level 698 |
| − | Level 699 |
+ | Level 699 V7 HTML5.png|Level 699 - {{Type|Candy Order}}|link=Level 699 |
| − | Level 700 |
+ | Level 700 V4 HTML5.png|Level 700 - {{Type|Ingredients}}|link=Level 700 |
| − | Level 701 Reality before.png|Level 701 - {{Type| |
+ | Level 701 Reality 2nd Version before.png|Level 701 - {{Type|Moves}} (''Before candies settle'')|link=Level 701 |
| − | Level 701 Reality after.png|Level 701 - {{Type| |
+ | Level 701 Reality 2nd Version after.png|Level 701 - {{Type|Moves}} (''After candies settle'')|link=Level 701 |
| − | Level 702 |
+ | Level 702 V3 HTML5.png|Level 702 - {{Type|Candy Order}}|link=Level 702 |
| − | Level 703 |
+ | Level 703 V2 HTML5.png|Level 703 - {{Type|Ingredients}}|link=Level 703 |
Level 704 Reality.png|Level 704 - {{Type|Candy Order}}|link=Level 704 |
Level 704 Reality.png|Level 704 - {{Type|Candy Order}}|link=Level 704 |
||
Level 705 Reality.png|Level 705 - {{Type|Candy Order}}|link=Level 705 |
Level 705 Reality.png|Level 705 - {{Type|Candy Order}}|link=Level 705 |
||
| − | Level 706 |
+ | Level 706 V3 HTML5.png|Level 706 - {{Type|Jelly}}|link=Level 706 |
| − | Level 707 |
+ | Level 707 V2 HTML5.png|Level 707 - {{Type|Ingredients}}|link=Level 707 |
| − | Level 708 |
+ | Level 708 V2 HTML5.png|Level 708 - {{Type|Ingredients}}|link=Level 708 |
| − | Level 709 |
+ | Level 709 V2 HTML5.png|Level 709 - {{Type|Ingredients}}|link=Level 709 |
Level 710 Reality.png|Level 710 - {{Type|Jelly}}|link=Level 710 |
Level 710 Reality.png|Level 710 - {{Type|Jelly}}|link=Level 710 |
||
</gallery> |
</gallery> |
||
| Line 263: | Line 262: | ||
Ep48promopic.jpg|Coming soon poster |
Ep48promopic.jpg|Coming soon poster |
||
ToffeeTowerpic.jpg|After the release poster |
ToffeeTowerpic.jpg|After the release poster |
||
| + | </gallery> |
||
| + | |-| |
||
| + | Old map= |
||
| + | <gallery> |
||
| + | Toffee Tower Map Mobile.png|Old Mobile/HTML5 map |
||
</gallery> |
</gallery> |
||
</tabber> |
</tabber> |
||
==Trivia== |
==Trivia== |
||
| − | [[File: |
+ | [[File:Big_ben.jpg|thumb|The Elizabeth Tower in London, England]] |
[[File:48 Toffee Tower HD (new).png|thumb|Toffee Tower background on mobile devices]] |
[[File:48 Toffee Tower HD (new).png|thumb|Toffee Tower background on mobile devices]] |
||
*This is the fifth episode in a row in which there is no text in the story. |
*This is the fifth episode in a row in which there is no text in the story. |
||
| − | *This |
+ | *This was the first episode since [[Sweet Surprise]] to have two timed levels until they were removed. |
| − | **In addition, this was the first episode to have exactly 2 timed levels(due to redesign). |
||
**Coincidentally, the toffee tower is a clock tower. |
**Coincidentally, the toffee tower is a clock tower. |
||
*This episode has a level with 75 moves, currently the highest number of moves in a level. In addition, [[Level 700]] used to have 75 moves as well before it was buffed. |
*This episode has a level with 75 moves, currently the highest number of moves in a level. In addition, [[Level 700]] used to have 75 moves as well before it was buffed. |
||
*This is the second episode in the entire game to have more ingredients levels than jelly levels. The first was [[Bubblegum Bridge]]. |
*This is the second episode in the entire game to have more ingredients levels than jelly levels. The first was [[Bubblegum Bridge]]. |
||
| − | *This is the sixth time an episode's name shares a word with another episode name in [[Reality]], with [[Licorice Tower]] (which is ironically enough the first episode since [[Candy Town]] not to have any timed levels). |
+ | *This is the sixth time an episode's name shares a word with another episode name in [[Reality]], with [[Licorice Tower]] (which is ironically enough the first episode since [[Candy Town]] not to have any timed levels at the time of release). |
*This is the first episode to have the same mascot as another episode's (Mr. Yeti was first introduced in [[Chocolate Mountains]]). |
*This is the first episode to have the same mascot as another episode's (Mr. Yeti was first introduced in [[Chocolate Mountains]]). |
||
*This is the second episode in the whole entire game to have 3 consecutive ingredient levels in a single episode, those being {{P|707}}, {{P|708}}, and {{P|709}}. The first episode was [[Wafer Windmill]] and the third episode is [[Chewy Citadel]]. |
*This is the second episode in the whole entire game to have 3 consecutive ingredient levels in a single episode, those being {{P|707}}, {{P|708}}, and {{P|709}}. The first episode was [[Wafer Windmill]] and the third episode is [[Chewy Citadel]]. |
||
| Line 284: | Line 287: | ||
*This episode has the longest string of non-jelly levels, which consist of 8 of them. Second is the string of the first 7 [[Candy Order levels|candy order levels]] from {{P|126}} to {{P|132}}. |
*This episode has the longest string of non-jelly levels, which consist of 8 of them. Second is the string of the first 7 [[Candy Order levels|candy order levels]] from {{P|126}} to {{P|132}}. |
||
*The hands on the clock point to 1:30 PM. |
*The hands on the clock point to 1:30 PM. |
||
| − | *The tower looks like the |
+ | *The tower looks like the Elizabeth Tower in London, England. |
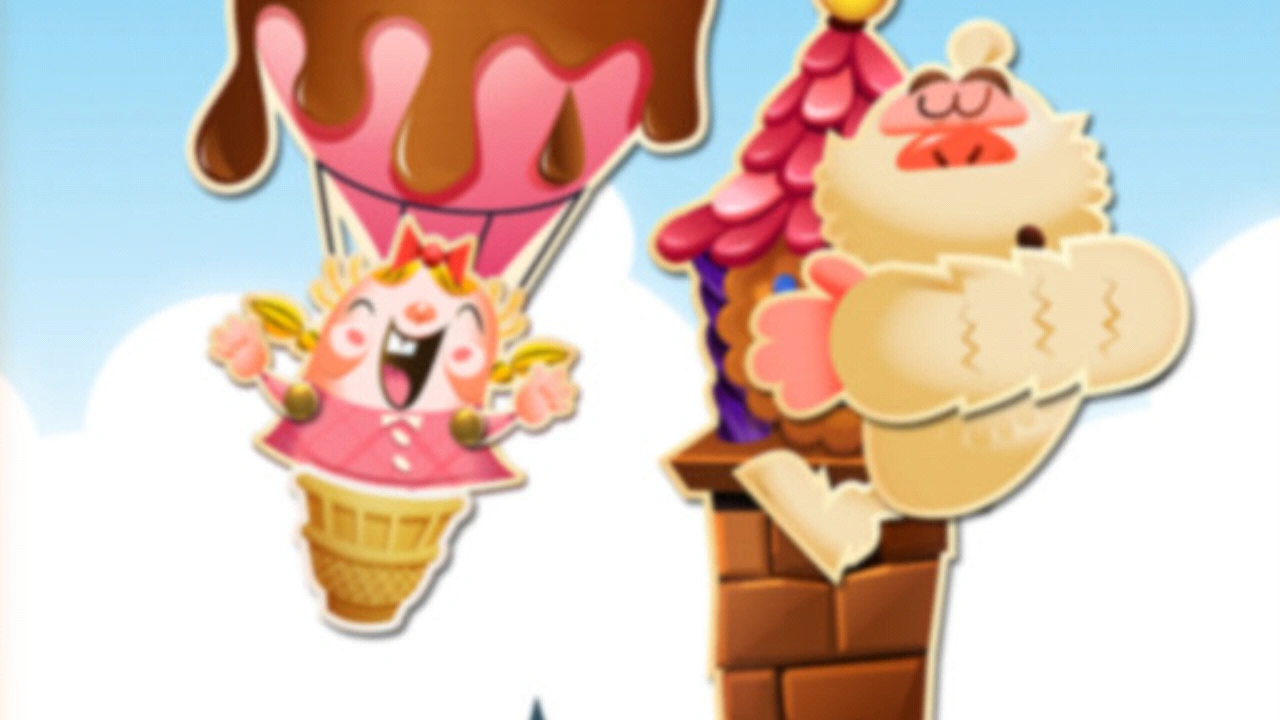
*The background on mobile devices show Tiffi being happy that Mr. Yeti is asleep. |
*The background on mobile devices show Tiffi being happy that Mr. Yeti is asleep. |
||
| − | *The release date of this episode coincides with "International Day of Older Persons". |
||
*This episode came out about 12 hours after the first nerf of level 677. |
*This episode came out about 12 hours after the first nerf of level 677. |
||
*This episode breaks the trend of no jelly levels ending with 0 since [[Wafer Windmill]]. |
*This episode breaks the trend of no jelly levels ending with 0 since [[Wafer Windmill]]. |
||
*This is the first episode to contain more than one quadrant level, {{P|701}} and {{P|707}}. |
*This is the first episode to contain more than one quadrant level, {{P|701}} and {{P|707}}. |
||
*This is the first time a previously seen character gets another main appearance in a non-holiday episode. |
*This is the first time a previously seen character gets another main appearance in a non-holiday episode. |
||
| − | *The name of this episode |
+ | *The name of this episode is almost identical to the 138th episode of ''Candy Crush Soda Saga'', {{CCSS|Toffee's Tower}}. |
| + | *This is one of only two episodes in the entire game with the word "toffee" in its name, the other episode is [[Toffee Teasprings]]. |
||
| − | |||
{{EpisodesNav}} |
{{EpisodesNav}} |
||
| − | [[Category:World finales]] |
+ | [[Category:World finales (Flash)]] |
[[Category:Episodes released in 2014]] |
[[Category:Episodes released in 2014]] |
||
[[Category:Medium episodes]] |
[[Category:Medium episodes]] |
||
Revision as of 01:31, 24 December 2019
| Episode | 48 |
|---|---|
| World (Flash) | 8 |
| World (HTML5) | 10 |
| Levels | 696-710 |
| Characters | Mr. Yeti |
| Champion title | Clockwork King |
| New features | |
| Release date | |
| Difficulty | Easy - Somewhat Easy |
| Previous | Next |
Toffee Tower is the 48th episode in Candy Crush Saga and the sixth and final episode of World Eight. This episode was released on 1 October 2014. The champion title for this episode is Clockwork King.
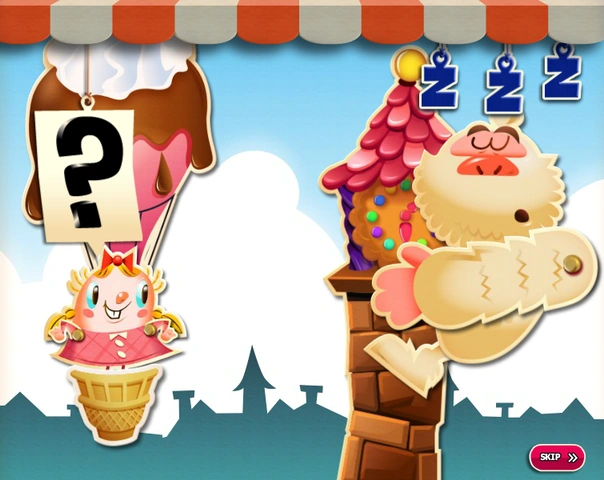
Story
Before episode:
Mr. Yeti is asleep on the tower.
After episode:
Tiffi wakes up Mr. Yeti by using an air horn. However, Mr. Yeti falls, but it is unknown what happened to Mr. Yeti.
New things
- Technically, nothing new is added, however, wrapped candies appear in liquorice locks for the first time in level 696.
- Coconut wheels appear naturally on the board (not encased in any blockers) in level 700.
- Also, level 698 is now the first level with candy bomb + mystery candy cannon, due to redesigning.
Levels

This episode contains levels 696-710.
While most levels are easy in this episode, it contains one hard level: 702. Level 710 is also considered somewhat difficult. Overall, it is an easy - somewhat easy episode and is considered much easier than the previous episode, Choco Rio Grande.
| 4 | 5 | 4 | - |
| The easiest : Level 701 |
The hardest : Level 702 |
| 4 |
5 |
|---|---|
| 4 | 11 |
| Level 697 | Level 699 | Level 702 | Level 704 | Level 705 | Level 707 | Level 710 | ||||||||
Difficulty code summary (details here)
None • Very Easy • Easy • Somewhat Easy • Medium • Somewhat Hard • Hard • Very Hard • Extremely Hard • Nearly Impossible • Variable
| 0 | 3 | 3 | 4 | 3 | 1 | 1 | 0 | 0 | 0 | 0 |
| Level | Type | Moves | Target score | Goal | Walkthrough | Remarks | |
|---|---|---|---|---|---|---|---|
| 696 | 100,000 | Currently has the most moves in the game | |||||
| 697 | 50,000 | ||||||
| 698 | 75,000 | ||||||
| 699 | 150,000 | ||||||
| 700 | 25,000 | ||||||
| 701 | 125,000 | ||||||
| 702 | 10,000 | ||||||
| 703 | 100,000 | ||||||
| 704 | 10,000 | ||||||
| 705 | 200,000 | ||||||
| 706 | 60,000 | ||||||
| 707 | 75,000 | ||||||
| 708 | 10,000 | ||||||
| 709 | 40,000 | ||||||
| 710 | 100,000 |


Gallery
")
")
")
")
")
")
")
")
")
")
")
")
")
")
")
")
")
")
")
")
")
")
")
")
Trivia

The Elizabeth Tower in London, England
.png)
Toffee Tower background on mobile devices
- This is the fifth episode in a row in which there is no text in the story.
- This was the first episode since Sweet Surprise to have two timed levels until they were removed.
- Coincidentally, the toffee tower is a clock tower.
- This episode has a level with 75 moves, currently the highest number of moves in a level. In addition, Level 700 used to have 75 moves as well before it was buffed.
- This is the second episode in the entire game to have more ingredients levels than jelly levels. The first was Bubblegum Bridge.
- This is the sixth time an episode's name shares a word with another episode name in Reality, with Licorice Tower (which is ironically enough the first episode since Candy Town not to have any timed levels at the time of release).
- This is the first episode to have the same mascot as another episode's (Mr. Yeti was first introduced in Chocolate Mountains).
- This is the second episode in the whole entire game to have 3 consecutive ingredient levels in a single episode, those being 707, 708, and 709. The first episode was Wafer Windmill and the third episode is Chewy Citadel.
- This episode contains no cake bombs.
- Despite named "Toffee Tower", toffee tornadoes have never appeared in this episode before they were completely removed from the game.
- This is the second episode in the game to have fewer than 5 jelly levels.
- This is the second episode to be released later in the day, first being Cereal Sea.
- This episode has the longest string of non-jelly levels, which consist of 8 of them. Second is the string of the first 7 candy order levels from 126 to 132.
- The hands on the clock point to 1:30 PM.
- The tower looks like the Elizabeth Tower in London, England.
- The background on mobile devices show Tiffi being happy that Mr. Yeti is asleep.
- This episode came out about 12 hours after the first nerf of level 677.
- This episode breaks the trend of no jelly levels ending with 0 since Wafer Windmill.
- This is the first episode to contain more than one quadrant level, 701 and 707.
- This is the first time a previously seen character gets another main appearance in a non-holiday episode.
- The name of this episode is almost identical to the 138th episode of Candy Crush Soda Saga, Toffee's Tower.
- This is one of only two episodes in the entire game with the word "toffee" in its name, the other episode is Toffee Teasprings.
| Candy Crush Saga Reality episodes |
|---|